The following procedure will show you how to set up the installation so that it can be remotely performed by our technical support.
Installation file
The most common way to install ISPadmin is using installation DVD which is available at promo events, or downloadable from download.ispadmin.eu. It is a ispadmin-XX-64bit-debian7-DVD.iso file (XX represents ISPadmin version).
ISPadmin runs on a Debian GNU/Linux distribution which is included in the installation DVD so there is no need to have a Linux installation ready prior to ISPadmin installation. Just burn the downloaded ISO file onto a DVD and follow the instructions.
Preparation
Switch to BIOS while booting up (by pressing Del / F2 or similar), and check that Advanced Host Controller Interface (AHCI) support is enabled for SATA hard drives. If your motherboard does not support AHCI, no problem. However, if there is such an option enable it. If you leave this option disabled the system will work with SATA drives in a mode compatible with older IDE drives, and I/O speed will be much lower than AHCI-enabled option.
Insert installation DVD into the drive and boot from it. There are 2 methods of booting from DVD.
Method 1 - Enable booting from DVD/CD in BIOS. The system will boot from DVD all the time. This might represent a problem while installing ISPadmin because you will need to boot from HDD after installation to finish configuration.
Method 2 - Press F11 or similar to get to boot menu. Select booting from DVD/CD. This way you will ensure that first booting will be done from DVD and then, after restart, from HDD as defined in BIOS. No help with server manipulation will be needed from your in this case.
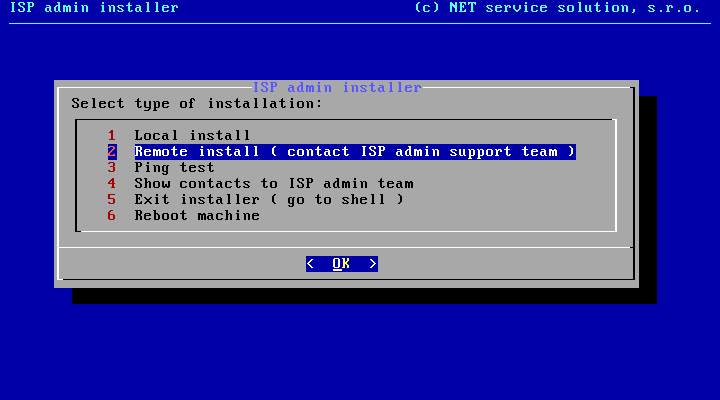
When the system is launched, installation environment will be prepared and a welcome screen is displayed. Click OK to confirm and proceed to Remote install. If you cannot see this screen, press enter.
Internet connection settings - Remote install
1. Set up IP address so that the server is accessible from the Internet. That is, either you enter public IP, or the machine is in your network so you enter private IP address and ensure mapping of ports 22, 80 and 443 from public IP address to your private one on your main router.

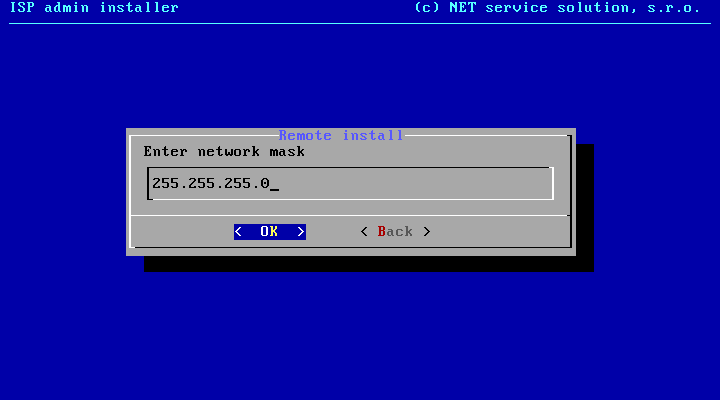
2. Enter network mask
3. Enter network gateway

Completion of connection settings
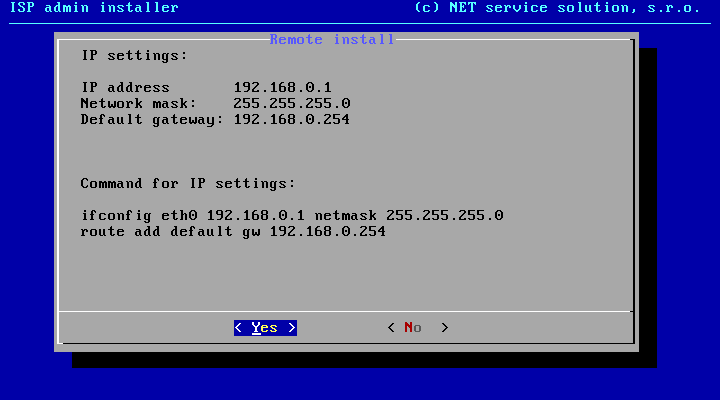
You will see an overview of IP addresses that you have entered. Click Yes to activate them. Preparation is completed and you can contact your technical support.
Contact us
And now just send us configured IP address to This email address is being protected from spambots. You need JavaScript enabled to view it. or call technical support. We will look after the rest.
The installation will have to be configured later on.