
Task Manager
 Task Manager is an app available for devices with iOS/Android. It enables technicians to administrate assigned tasks from the Scheduling module. This app is especially suitable for day-to-day work of technicians. You will find more information about pricing and download options here.
![]() The app is only available for ISPadmin installations in version 4.15 and newer, and for iOS 6 and newer or Android 4.4 and newer.
The app is only available for ISPadmin installations in version 4.15 and newer, and for iOS 6 and newer or Android 4.4 and newer.
Login
When you open the app, a login screen will pop up. Enter technician´s User name and Password, and ISPadmin URL, e.g. http://yourcompany.ispadmin.com. Tap on Login.
![]() Users of the app are defined in Settings Administrators Administrators in ISPadmin.
Users of the app are defined in Settings Administrators Administrators in ISPadmin.
In case of problems when switching from a free version to a paid one, follow these instructions.
You will find basic tips for work with the app in the main menu - About.
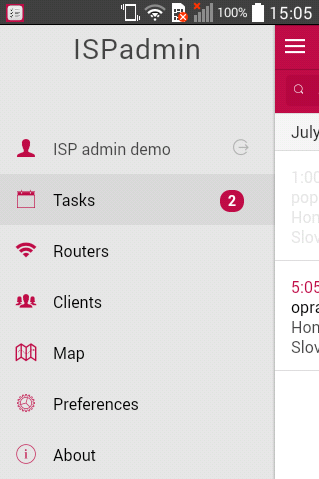
Menu
Tap on ![]() to get to the main menu. You will see name of logged-in administrator/technician. Tap on the name to logout. And there are the following menu items:
to get to the main menu. You will see name of logged-in administrator/technician. Tap on the name to logout. And there are the following menu items:
Tasks
When you log in, your tasks will be shown. You may use full-text to search through them in e.g. client's name, address, task description. In the overview of tasks, you will see task ID, which comes from ISPadmin. Swipe down to refresh the overview.
Task detail
Tap on the task to see its detail, such as task date, its description, and assigned technicians.
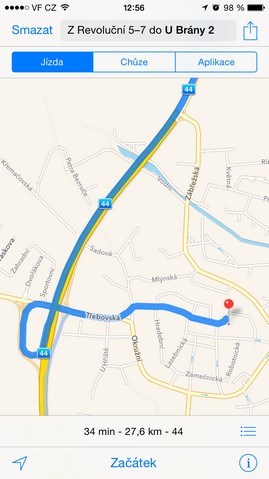
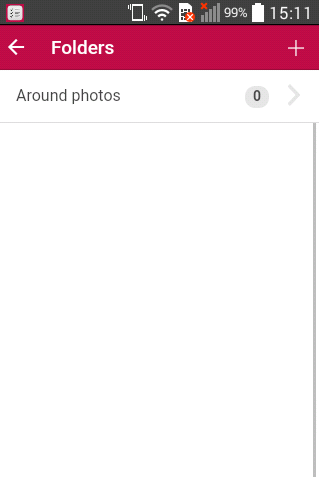
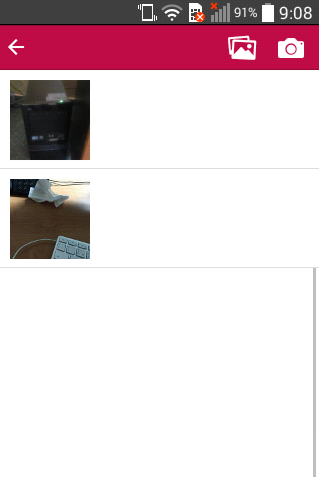
If a task is linked to a client, client´s details and map of installation address will be displayed. Tap on client's name to open a map integrated in your device, and GPS navigation, if any. If there are any client´s photos in ISPadmin (see more) you will be able to display them by tapping on Photos. Photos are grouped into folders and you can add a new one by tapping on +. You can either upload photos from your gallery ![]() , or take new ones .
, or take new ones .
![]() Tap on client´s phone number to call directly.
Tap on client´s phone number to call directly.
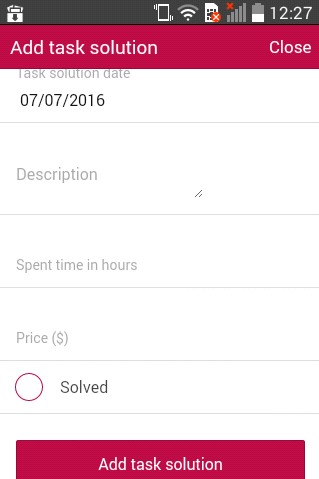
Task editing
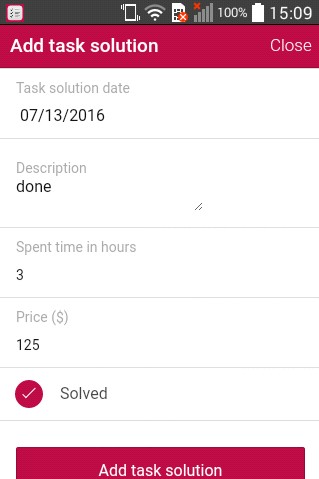
Edit a task by tapping on ![]() . You can change its solution date, description, or close it by tapping on Solved (add Spent time in hours and Price).
. You can change its solution date, description, or close it by tapping on Solved (add Spent time in hours and Price).![]() If a task is to be invoiced, do so in ISPadmin.
If a task is to be invoiced, do so in ISPadmin.
Adding new task
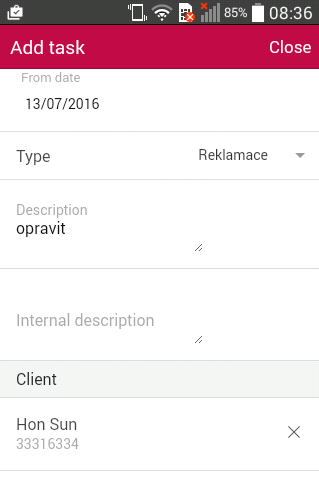
In the overview of tasks, tap on +, fill in all the required fields (see Add new task in ISPadmin), and save a task by tapping Add task.

|

|
|
|
|
|
|
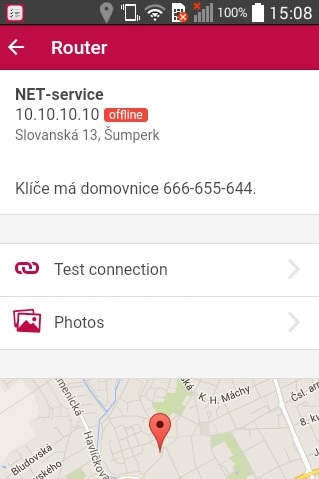
Routers
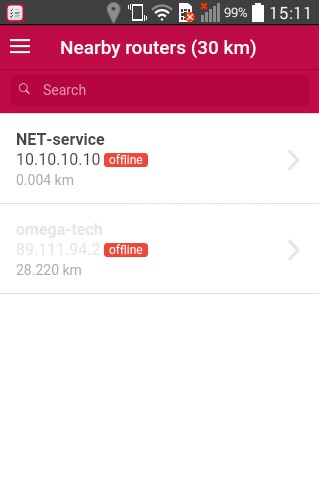
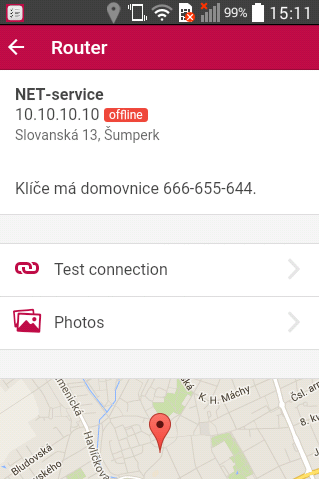
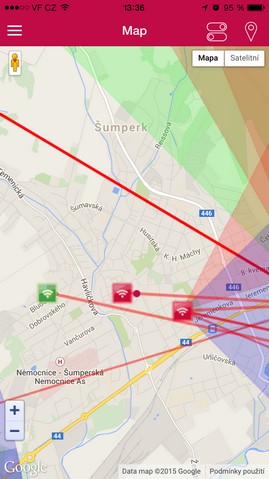
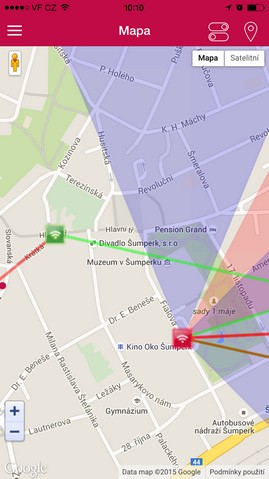
Technicians will see Nearby routers - in the perimeter of 30 km´s from current position (localization must be enabled on the device and router must have GPS coordinates in ISPadmin). You may use full-text search in the overview of routers. Also, it is clearly visible if a router is online or offline. There is an arrow next to router name showing the direction of router´s position (compass must be present in the device). Tap on router name to display its detail from ISPadmin, i.e. IP address, location address, calculated distance from current position, description, or photogallery. You can also tap on Test connection to run ping to router as you would from ISPadmin.
|
|
|
|
Clients
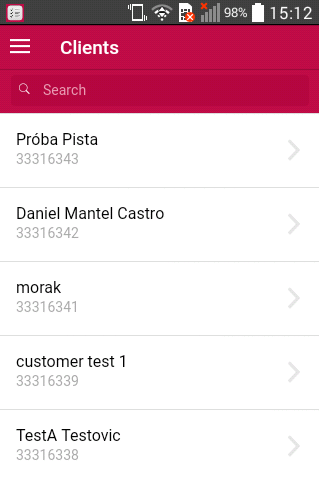
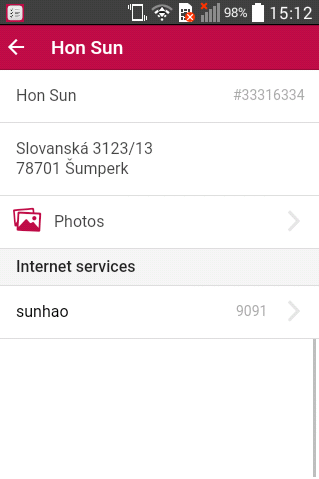
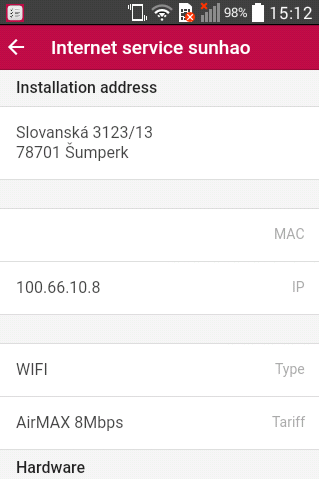
You may use full-text search and display client´s detail by tapping on the name. Other available details are: client´s address, photos from the Client card, and all Internet services, details of which you can display - installation address, IP address of device etc.
|
|
|
Preferences
- Add events to calendar: adding tasks to default calendar on the device
- Upload photos via WiFi only: saves mobile tariff data
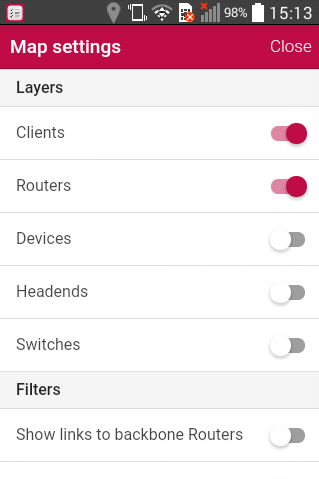
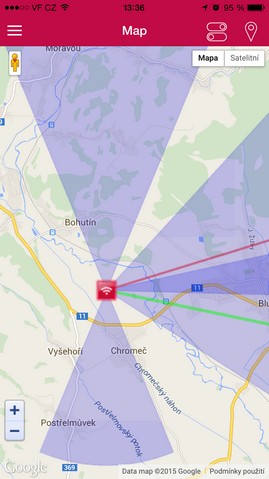
- Show map: displaying map in client/router detail
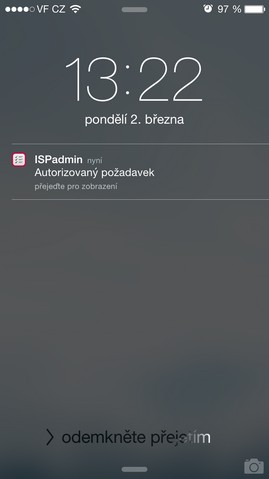
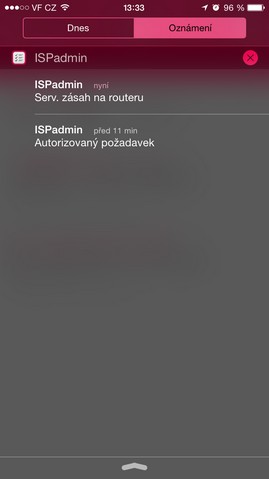
Notification
Notifications announce added/edited tasks, or they can display Push notifications for Nagios.
|
|